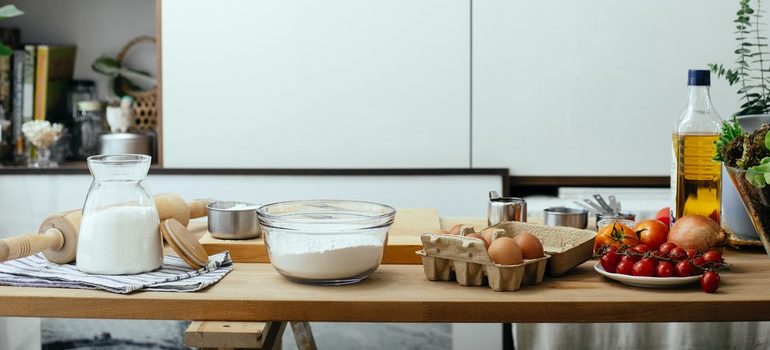
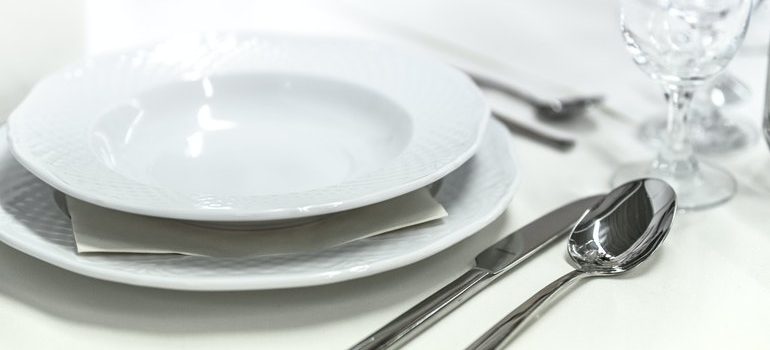
Packing the kitchen for relocation 101
The kitchen is definitely one of the most difficult rooms to pack when you’re preparing for a relocation. To begin with, there’s so much stuff in there! Then you also have to take into account that a lot of what you have in the kitchen is fragile and breakable and will, therefore, require special attention. On top of all that, you have to pack some pretty big appliances. So if you don’t know what you’re doing, packing the kitchen for relocation can easily turn into a nightmare. But with the help of moving companies Seattle and some preparation, you can make packing the kitchen so much easier.
Packing the kitchen for relocation starts with planning

Like all other parts of moving, packing the kitchen requires planning. You need to prepare things in advance and set up a timeline. Some parts of the kitchen, like the fridge, will require a few days to pack and you want to be done before your team of movers Redmond WA arrive so you’ll need to set aside enough time for this. Don’t underestimate this step – planning is half of the process!
Never leave the kitchen for last
You may be tempted to pack your kitchen last. After all, there are a lot of things in the kitchen that you need on a daily basis even when you’re moving: you still need to have and prepare food somehow, make coffee, use different utensils, and more. And while this is all true, you cannot postpone packing the kitchen until the end.
It takes a long time to pack up a kitchen, even when you don’t have a lot of stuff. All the dishes, crockery, and cutlery need to be handled with care. And many appliances require several days to clean and prepare for the move. So you’ll have to find other ways to keep your kitchen somewhat functional while still packing most of it in advance.
Gather your supplies in advance
Once you start packing, you don’t want to interrupt the process all the time by going out and grabbing more boxes or tape whenever you run out. Instead, get your moving boxes Seattle and other supplies before you actually start packing. Remember to get more supplies than you think you’ll need. Having extra is always good. For an average kitchen, this is the overall average that most moves require:
- 5 large, 10 medium, and 5 heavy-duty boxes
- 5-10 cell kits
- 4-5 lbs of unprinted newspaper or other wrapping paper (you can exchange this for bubble wrap or some type of fabric or mix different alternatives)
- durable packing tape (at least one roll, probably more) and a tape dispenser
- markers and labels
Once you have everything you need, clear an area with a large flat surface (like the counter or the dining table) to use for setting up your packing station.
Decide what you’re bringing with you

An easy way to make packing faster and simpler is to just get rid of some stuff. So part ways with all those chipped mugs, scraped pots, charred pans, mismatched dining sets, old coffee makers, and everything else that needs replacing. Already damaged items are simply not worth the effort you’d need to put in to move them.
Get help with packing and moving large appliances
Unless you are the world’s strongest human being, you are not lifting, carrying, and loading a fridge or a stove by yourself. And it is much better if you don’t try; otherwise, you may injure yourself. Instead of risking that, hire local Seattle movers to help you or call up some friends at least. But don’t try to lift heavy appliances by yourself.
Where to start when packing the kitchen for relocation?

When you’re about to pack your kitchen, where you start doesn’t really matter. The important thing is to start somewhere – anywhere. The sooner you start, the more time you’ll have and the less stressful it’ll be. So pick your poison:
- appliances: If possible, use the original packaging to pack appliances. Otherwise, use packing boxes of a similar size. Make sure your appliances are clean before you pack them (for the fridge, this means defrosting it and letting it airdry of at least 24 hours prior to the move). Disassemble what you can, remove and protect breakable parts, and use cushioning material to fill boxes so your appliances don’t get damaged in transport.
- dishware: Wrap each individual dish in packing paper for protection, then pack them on their sides. Don’t stack them on top of each other. For especially fragile or especially valuable dinnerware, use bubble wrap or fabric. Add an extra layer of protection by putting a few sheets of paper or a layer of bubble wrap after every third or fourth dish. Pack in a lined box.
- glassware: Wrap each individual glass, mug, vase, or bottle in paper or bubble wrap. Secure the wrapping with tape. For stemware, pay extra attention to protecting the stem. Use crumpled paper or wadded-up fabric to fill glasses and bowls so they don’t break. Pack them upside down (they are strongest on their rim) in glassware boxes or use cell kits.
- pots and pans: Stack pots and pans by size in a box that easily fits the largest one. Wrap glass lids in paper and pack them under the handles of other pots and pans for protection.
- silverware: Sort silverware by type, then keep each type together with string or an elastic band. Wrap each stack in napkins or paper and label which side is covering the blades on the knives. Pack in a small box.
What to do with the food when packing the kitchen for relocation?
Unless you are moving somewhere really close by, food is not really worth moving. So you’ll want to plan how to get rid of it before moving day. First, stop buying fresh groceries about a week before the move. Then, eat the things that will be expiring soon. If you have any long-lasting food in the pantry, that may be worth bringing with you. Or you can donate it through our our MOVE FOR HUNGER program which benefits local food banks.
In the end, remember that you won’t have full use of the kitchen while you’re moving. Yet, you’ll still need to eat while packing and moving. So plan and prepare your meals in advance. Try to do this later in the process so they don’t go off before you can eat them.
Additional tips for packing the kitchen for relocation
Finally, here are a few additional things to take into account as you prepare to pack your kitchen:
- always start with things you use least: you won’t be eating off of your grandma’s fine china before the move so pack it early to save time down the line!
- you’re going to need an essentials box: leave a few plates, glasses, and cutlery sets unpacked so you can continue having meals up until the move
- you can find instructions on how to clean and disassemble appliances online: if you’re not sure how to clean and disassemble appliances and you haven’t kept the original packaging, just look up the instructions on Google
- label all boxes clearly: not only will labeling help you unpack more easily later but it’ll also let your movers know which boxes to handle with extra care
If you follow this guide, packing the kitchen for relocation will be a breeze. Just start on time and get help if you need it!
Why Choose Us
History
Hansen Bros. Moving & Storage is locally owned and operated by the same family for four generations, since 1890. We have a well-established reputation for service quality and reliability with a high percentage of repeat household and commercial clients.
Professionalism
We’re a certified ProMover by the American Moving and Storage Association with A+ rating with the Better Business Bureau, voted “Best in Western Washington” in 2009 and from 2011 to 2016 by KING5. Our company is fully licensed and insured and member of WMC and AMSA.
Value
Hansen Bros. Moving & Storage provide free, no-obligation in-home estimate and competitive rates, including low minimum rates for shipments moving under 300 miles. We’ve set a refund policy for unused packing materials and three Puget Sound locations to help clients save on travel fee costs.


